The Appeal and Reality of Heating with Historic Cast Iron
Buying an antique wood stove offers a rare combination of functional warmth, sculptural cast iron artistry, and genuine self-reliance. While modern steel units look utilitarian, a vintage wood burning stove from the late nineteenth or early twentieth century serves as an ornate architectural centerpiece. However, bringing historic heating appliances into a modern residence requires a clear understanding of clearance codes, metallurgical integrity, and draft mechanics.
Before loading a heavy cast iron unit into your truck, you must determine whether you intend to use it as an occasional decorative room heater or a primary heat source. Early heating units were engineered around continuous draft cycles, regional fuel woods, and draft flues that differ dramatically from modern insulated stainless chimney systems. Understanding these mechanical principles prevents costly installation mistakes and dangerous chimney fires.
Whether you are hunting for a parlor heater or a classic Vermont Castings woodstove, quality varies wildly based on storage history and past fire exposure. Some stoves sat unburned in dry parlors for generations, while others warped under intense coal fires in damp basements. Knowing how to differentiate cosmetic surface rust from fatal structural casting cracks is the foundational skill every prospective buyer needs.
Distinguishing Parlor Stoves, Box Heaters, and Cookstoves
Vintage heating equipment broadly splits into radiant parlor heaters, heavy utility box stoves, and multi-flue cookstoves. An antique wood heater built for a Victorian parlor typically features tall, vertical proportions, mica window panels, and nickel-plated trim designed to maximize radiant output in a modest footprint. These stoves focus purely on heating living spaces rather than supporting cookware.
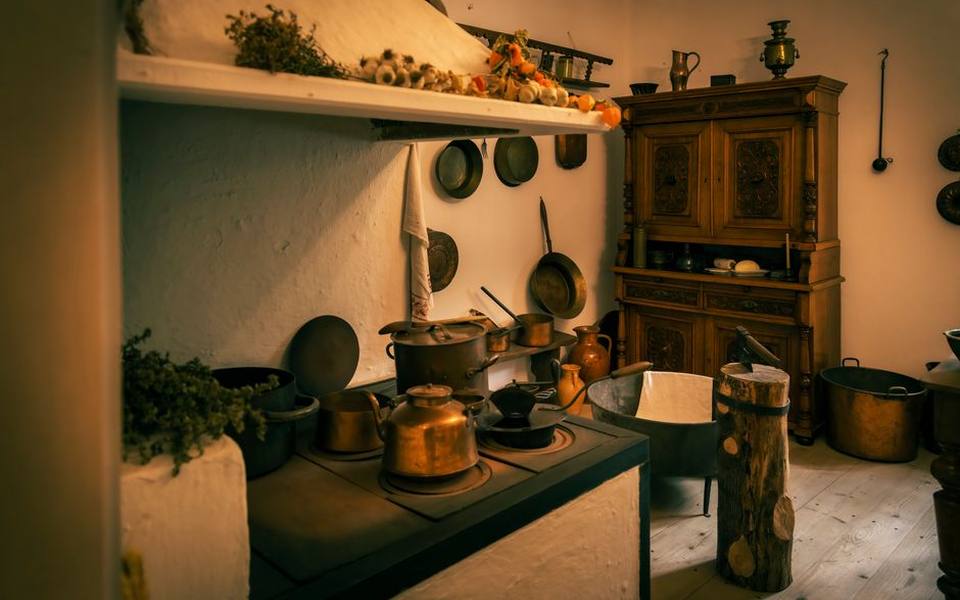
In contrast, a wood cook stove with oven capabilities is a sophisticated culinary workhorse. These units feature internal draft dampers that route blazing exhaust gases around an insulated baking chamber before venting up the flue collar. Operating an antique wood oven stove requires mastering damper control to maintain even baking temperatures across iron chambers without scorching the firebox.
Larger rural homes often relied on an antique wood furnace installed in the cellar, utilizing heavy gravity ducts to distribute warm air through floor registers. When browsing Antique Malls, you will encounter diverse regional designs ranging from compact potbelly cabin warmers to sprawling six-burner estate ranges, each requiring distinct flue setups and floor support.
How to Inspect Cast Iron for Cracks, Warping, and Burnout
When inspecting any vintage wood burning heater, your first tool should be a strong flashlight and a pocket mirror to examine internal firebox plates. Look closely at the back wall and side liners directly adjacent to the primary combustion zone. Repeated exposure to extreme heat causes iron to crystallize, thin out, and eventually develop hairline stress fractures that leak carbon monoxide into living quarters.
Run your hand across the firebox top and side exterior panels to feel for swelling or outward bulges. Warping indicates the stove was chronically overfired, often by previous owners burning soft coal in an appliance designed strictly as a vintage log burner. Once cast iron panels warp, their interlocking tongue-and-groove joints lose their tight seal, allowing uncontrolled intake air that prevents you from damping down the burn rate.
Inspect the base plates, shaker grates, and leg mounting brackets beneath the ash lip. If a vintage wood burner sat directly on moist dirt or damp concrete, corrosion typically attacks the underside bolts and foot castings first. Tapping questionable sections gently with a wooden dowel produces a clear ring in solid iron, whereas cracked or severely fatigued metal yields a dull, hollow thud.
Evaluating Moving Parts, Dampers, and Door Gaskets
Air control is the foundation of safe stove operation, making movable hardware just as important as solid outer walls. Inspect the primary spin draft wheels or slide registers located on the ash and loading doors. These moving plates must pivot freely without binding against rust scales, yet sit flush enough against the door face to choke incoming air when closed completely.
Examine the flue collar damper and internal bypass baffles found on an antique wood fired stove. Over decades of corrosive flue gas exposure, thin interior damper rods frequently rust through at the hinge pins, leaving internal plates frozen shut or swinging loose. Rebuilding frozen pivot hinges requires patient heat extraction and penetrating solvents rather than brute force, which easily snaps brittle antique cast iron tabs.
Many pre-1970 wood heaters were designed as metal-to-metal fit doors without rope channels, while later vintage models rely on braided fiberglass gaskets. Check that doors pull tightly against the stove body along the entire perimeter. You can test the closure tightness by clamping a paper dollar bill in the door; if the paper pulls out easily without friction, combustion air will leak past the perimeter.
Disassembly, Rust Removal, and Resealing Seams
Full restoration begins with methodical disassembly, marking each interlocking panel to ensure correct realignment upon reassembly. Antique stoves are held together by long interior tie rods running from the top casting down through the base plate. Because these threaded rods rust into single masses over decades, restorers typically cut them free and replace them with fresh steel rod stock cut to matching thread pitch.
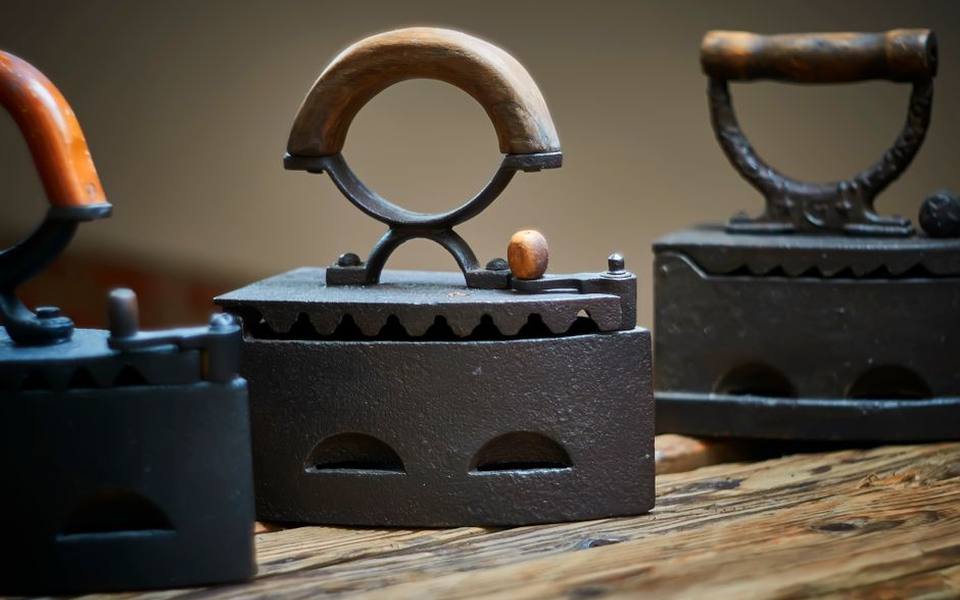
Removing layers of rust and ancient stove blacking requires non-destructive cleaning techniques. Gentle wire wheeling, orbital needle scaling, or fine glass-bead blasting cleans iron without cutting into fine relief details or original foundry casting numbers. Avoid harsh sandblasting with coarse media, which leaves a pitted texture on polished iron surfaces and erases maker marks.
Before bolting the structure back together, every mating seam must be packed with high-temperature furnace cement. Historic stoves rely on these refractory paste seams to prevent spark leaks and draft loss. For those sourcing projects through Antique Shops Offering Estate Sales, acquiring a stove that needs simple seam repacking rather than casting welding offers the most straightforward path to a reliable, airtight rebuild.
Choosing Between Traditional Blacking, Enamel, and High-Temp Paint
The external finish of your restored stove dictates both maintenance routines and long-term durability against moisture. Traditional paste stove blacking, composed of graphite and wax, penetrates deep into cast iron pores and yields an authentic gunmetal satin sheen. However, graphite paste requires periodic reapplication and can rub off on clothing if touched when the stove sits cold during summer months.
Modern heat-resistant silicone paints rated for high thermal exposure provide a durable, non-transferring finish available in flat black, charcoal, and warm metallic shades. Applying these finishes requires complete degreasing of the bare metal and careful curing through progressively hotter test fires. During the first two curing firings, burn small kindle loads with windows open to vent curing chemical fumes safely outdoors.
Porcelain enamel finishes found on mid-century parlor stoves and decorative ranges demand completely different care. Chipped or crazed porcelain cannot be patched with standard paint, as thermal expansion differentials will cause patch compounds to peel. If you locate an enameled piece through Antique Consignment Shops, prioritize preserving clean original porcelain over units with deep rust bubbling beneath the vitreous enamel layer.
Clearance Standards, Hearth Pads, and Building Safety Codes
Installing any uncertified vintage wood heater requires strict adherence to residential clearance standards, which generally demand significantly wider safety margins than modern double-wall appliances. Building codes typically mandate a minimum 36-inch clearance between unlisted single-wall stoves and any unprotected combustible wall surface. Installing ventilated sheet metal heat shields with one-inch air gaps can safely reduce clearances, but local ordinances vary by jurisdiction.
Floor protection is equally critical when managing a burning antique firebox. Historic units radiate intense downward heat through their base plates, especially when hot coals accumulate in shallow ash pans. Hearth pads must combine non-combustible surfaces like natural stone or slate with underlying thermal barrier boards that meet specific thermal resistance ratings, extending well beyond the front loading door.
Always consult with local fire marshals and your homeowner insurance provider prior to lighting a historic stove. Many insurance underwriters require formal documentation or inspections from independent Appraisal Services or certified chimney technicians before approving an unlisted vintage appliance. Overlooking insurance guidelines can complicate property coverage, making professional verification an essential step in your installation plan.
Chimney Draft, Flue Sizing, and Modern Relining
A wood stove only operates as cleanly and safely as the chimney pulling draft from it. Connecting a vintage wood stove to an oversized, unlined exterior brick chimney creates sluggish draft, rapid creosote condensation, and persistent room smoke rollout during refueling. Exhaust gases must remain hot inside the chimney pipe until exiting into the atmosphere to maintain positive draft velocity.
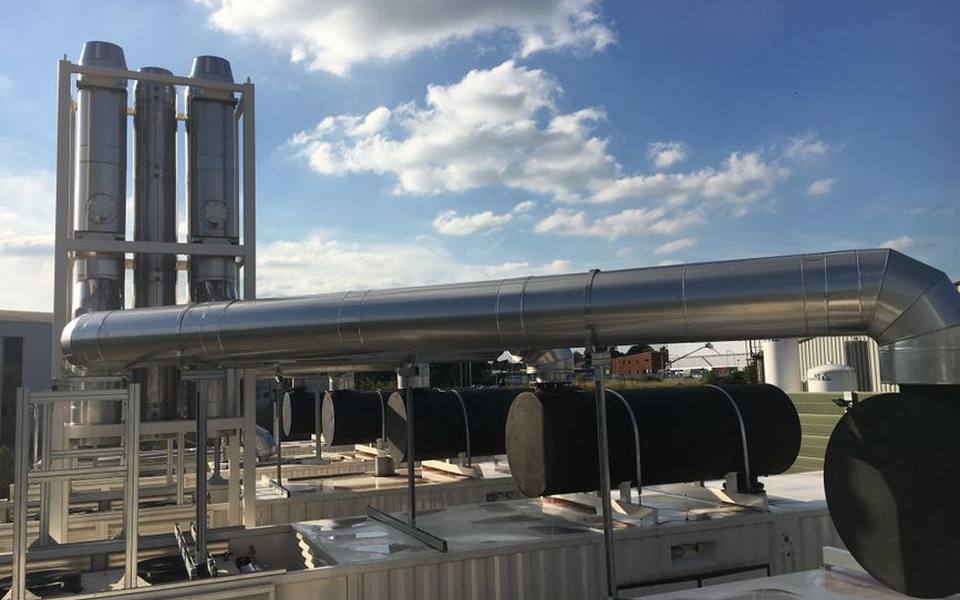
Modern installations almost universally benefit from installing an insulated stainless steel flue liner correctly sized to match the stove collar diameter. If your vintage cookstove features a six-inch oval or round collar, dropping a continuous six-inch flexible stainless liner down the masonry flue stabilizes upward flow. Never reduce the chimney diameter below the original collar size specified by the stove manufacturer.
Maintain appropriate pipe rise in the connector pipe between the stove collar and the wall thimble. Single-wall connector pipes should slope upward toward the chimney at a minimum pitch of one-quarter inch per foot of horizontal run. Securing each pipe joint with three sheet metal screws ensures that thermal expansion cycles will not rattle flue connections loose during vigorous winter burning.
Sourcing Authentic Stoves, Replacement Grates, and Foundry Parts
Locating well-preserved antique stoves requires looking beyond modern big-box retail showrooms into traditional resale avenues. Architectural salvage warehouses, regional farm auctions, and specialized dealers maintain stocks of regional models built during the height of American iron production. You will discover exceptional specimens tucked into rural outposts across Pennsylvania, New York, and New England, where historic iron foundries flourished.
When replacement internal parts like rocker grates, baffle plates, or ash doors are missing, locating original matching components requires patience. Fortunately, specialized foundry pattern makers and vintage stove networks stock recasted parts poured from original foundry masters. Having an intact broken part allows skilled metal shops to braze broken tabs or fabricate functional steel replacements.
If an antique stove lacks its identifying front badge or side casting marks, check the inside face of the cleanout door or underside of the ash door for raised foundry serial numbers. Cross-referencing these numbers in historic catalogs helps you determine original fuel ratings, factory clearances, and the exact production era before investing your restoration capital.
Firing, Fuel Selection, and Daily Operating Routines
Operating an antique wood burner requires a completely different mindset than using automated modern pellet appliances or clean-burn secondary combustion boxes. Historic stoves rely purely on operator skill to balance fuel loading, air intake, and flue damper resistance. Start fires with dry kindling and light hardwood splits, bringing the cast iron mass up to operating temperature gradually to prevent thermal shock to chilled castings.
Burn only seasoned, dry cordwood with a moisture reading below twenty percent. Burning unseasoned green oak or resinous wet pine produces heavy smoke, lowers firebox temperatures, and coats cold chimney walls in sticky creosote deposits. Furthermore, avoid overloading the firebox with construction lumber, pallets, or painted scrap, which generate intense chemical heat spikes capable of cracking antique cast iron grates.
Maintain a protective one-inch layer of wood ash across the bottom firebox floor beneath the grate to insulate the lower iron casting from direct ember heat. Inspect the flue pipe monthly during peak winter burning periods to track creosote accumulation. By pairing respectful burning habits with regular sweeps, a properly restored historic stove will deliver safe, dependable warmth for decades to come.
Published 2026-09-21 · reviewed with each rebuild, last September 2026.
Find antique stores near you
The directory lists 25,996 antique stores by state and city — pick your state or use the “Near me” button in the header.
More guides
-
 Owning
Cleaning and Polishing Antique Silver Without Damaging the Patina
-
 Money
MoneyNavigating the Market for Vintage Currency
-
 Owning
Evaluating, Using, and Displaying Mid-Century Glassware and Kitchen Antiques
-
 Buying
Navigating Vintage and Antique Jewelry Styles
-
 Owning
How to Clean and Care for Silverware Without Causing Damage
-
 Owning
Vintage Pyrex Value and Safety Guide: Understanding Collector Patterns and Usage
-
 Buying
A Guide to Sourcing Vintage and Estate Jewelry
-
 Money
MoneyValuable Baseball Cards Guide: Spotting Vintage Sports Collectibles
-
 Owning
How to Clean and Restore Antique Wood Furniture
-
 Money
MoneyHow to Find and Use Antique Price Guides Online
-
 Money
MoneyHow to Determine the Value of Old Books and First Editions
-
 Money
MoneyWhere and How to Sell Vintage Coins for the Best Return
-
 Buying
Choosing and Caring for Vintage and Modern Cast Iron Cookware
-
 Owning
How to Polish and Value Antique Silverware at Home
-
 Owning
How to Clean and Polish Antique Wood Furniture Without Damaging It
-
 Buying
Vintage and Classic Cast Iron Cookware: Buyer's, Value, and Care Guide
-
 Buying
Antique Silverware, Vintage Jewelry, and Collectible Coins Guide
-
 Money
MoneyA Practical Guide to Antique Price Guides and Rare Book Valuations
-
 Owning
How to Clean, Polish, and Refinish Antique Wood Furniture
-
 Owning
Ultimate Guide to Vintage and Antique Cast Iron Cookware: Brands, Seasoning, and Care
-
 Owning
How to Clean, Polish, and Value Vintage Silverware and Antique Jewelry
-
 Buying
Valuing Vintage Collectibles: From Rare Dolls and Slot Machines to Classic Lamps and Churns
-
 Owning
How to Clean, Polish, and Refinish Antique Wood Furniture
-
 Money
MoneyVintage Glassware Value Guide: Pyrex, Depression Glass, CorningWare, and Bottles
-
 Money
MoneyAntique & Vintage Price Guides: How to Value Antiques and Collectibles
-
 Buying
How to Value Old Books and First Editions: A Collector's Price Guide
-
 Money
MoneyWhere and How to Sell Vintage Records and Audio Equipment
-
 Buying
How to Buy, Value, and Sell Vintage Coins: A Practical Beginner's Guide
-
 Buying
Estate Sale Guide: How to Find, Buy, and Liquidate Antiques
-
 Buying
Vintage and Modern Cast Iron Cookware: Identification, Seasoning, Buying, and Care
-
 Money
MoneyComprehensive Guide to Antique Values, Old Books, and Collectibles Pricing
-
 Owning
Cleaning and Caring for Vintage Silverware, Fine Jewelry, and Antique Metals
-
 Owning
How to Clean, Polish, and Refinish Antique Wood Furniture
-
 Buying
Vintage and Modern Cast Iron Cookware: Identification, Caring, and Buying Guide
-
 Owning
Antique Silverware: Cleaning, Polishing at Home, and Value Guide
-
 Owning
Care, Polishing, and Refinishing Guide for Antique Wood Furniture
-
 Buying
Vintage Pyrex, Glassware, and Depression Glass Identification and Value Guide
-
 Money
MoneyAntique Price Guides: How to Value and Sell Antiques Online and Offline
-
 Money
MoneyCollectible Old Books and First Editions: Valuation and Identification Guide
-
 Buying
Vintage Sewing Machines, Stoves, and Antique Tools Value Guide
-
 Buying
Collector Guide to Vintage Door Hardware, Knobs, and Cabinet Pulls
-
 Owning
Antique & Vintage Dolls: Values, Identification, and Care
-
 Buying
Antique Hoosier Cupboards and Vintage Desks: History, Identification, and Value
-
 Service
Grandfather, Wall, and Pocket Clock Repair and Identification Guide
-
 Owning
Antique Rotary Telephones and Landlines: Buying, Restoring, and Converting
-
 Owning
Collecting Vintage Picture Frames and Oil Paintings: Framing and Restoration
-
 Buying
Antique Sewing Machines and Spinning Wheels: Value, Brands, and Maintenance
-
 Buying
Depression Glass and Antique Canning Jars: Identification and Values
-
 Buying
Vintage Mirrors: Identifying, Buying, and Styling Antique Glass
-
 Owning
Antique Silverware and Silverplate Flatware: Cleaning, Identification, and Value
-
 Buying
Vintage Engagement Rings and Art Deco Jewelry: Buying and Valuation
-
 Buying
Buyer Guide to Vintage and Antique Furniture: Seating, Tables, Desks, and Reproductions
-
 Buying
Collector Guide to Vintage Toys, Lighters, Sports Ephemera, and Curios
-
 Buying
Architectural Salvage Guide: Sourcing Stained Glass, Mantels, and Historic Hardware
-
 Buying
Vintage Fashion and Heirloom Style: Sourcing Dresses, Denim, Leather, and Ephemera