Assessing the surface before touching the wood
The safest way to clean antique wood furniture is to start with the mildest possible method, testing every cleaner in an inconspicuous spot before touching prominent surfaces. True patina is the gentle oxidation, handling marks, and depth of color that wood naturally develops over decades or centuries. Stripping this character away drastically reduces historical value and market desirability. Before applying any liquid or rag, determine whether the surface is merely dusty, covered in greasy grime, or actively flaking.
Original finishes generally fall into three historical categories: oil or wax on very early pieces, shellac on nineteenth-century woodwork, and early varnishes or nitrocellulose lacquers on turn-of-the-century items. Each finish responds differently to moisture and solvents. If you rub alcohol on shellac, for example, the finish dissolves immediately into a sticky residue. Looking closely under raking light helps you see whether the wood has hairline cracks, flaking varnish, or bare patches that would absorb liquids too quickly.
Many collectors browse through specialized antique furniture stores specifically hunting for original finishes because once a piece is stripped, its authenticity is permanently compromised. Understanding what sits beneath the grime allows you to make informed decisions about preservation. When in doubt, cleaning should remove dirt while leaving the underlying finish completely intact.
Basic dusting and dry surface preparation
Before any wet cleaning solution touches aged wood, all loose debris and abrasive dust must be lifted from the grain. Wiping down a piece with a wet cloth while dry dust sits on top turns the dirt into a fine liquid abrasive that scratches delicate shellac and French polishes. The best starting tool is a clean, dry, lint-free microfiber cloth or a natural bristle drafting brush that gently dislodges settled dust without snagging on loose veneer edges.

For carved details, turned legs, and tight mouldings, a soft horsehair brush or a dry artist's paintbrush works better than any cloth. Sweep outward from the deep recesses toward flat surfaces so dirt can be collected cleanly. Vacuuming with a soft brush attachment held a half-inch above the surface is another effective way to lift particulate matter without risking direct friction against brittle finishes.
Take time to inspect hardware, joints, and hinges while dusting. Dust often settles heavily behind drawer pulls and keyhole escutcheons, absorbing atmospheric moisture and accelerating corrosion against the surrounding wood. Avoid using feather dusters on old furniture, as broken quills can easily gouge soft woods like pine, walnut, or mahogany.
Washing away years of grime without water damage
When dry dusting leaves a dull, gummy haze behind, gentle wet cleaning becomes necessary. The golden rule for cleaning antique wood is to keep moisture to an absolute minimum, as excess water causes wood fibers to swell, joints to loosen, and delicate hide glue to dissolve. Mix a few drops of mild, pH-neutral dish soap into a bowl of warm distilled water, creating a light sudsy solution without heavy detergents or synthetic fragrances.
Dip a soft cotton cloth or clean microfiber into the suds, wringing it out until it is barely damp. Wipe one small section at a time, working in gentle strokes that follow the direction of the wood grain rather than circular motions. Never allow water to pool on flat tops or seep into joint lines. Immediately follow behind with a second, dry lint-free cloth to lift residual moisture and loosened dirt before it can penetrate into the finish.
If the damp cloth lifts brown grime, switch to a fresh patch of cloth frequently to avoid smearing dirty residue back over clean areas. Cotton swabs dipped in the same barely-damp solution work wonders around intricate carvings and moulding profiles. This gentle soap-and-water method safely lifts cooking grease, atmospheric smoke, and finger oils without altering the underlying historic stain.
Tackling heavy wax buildup and stubborn stains
Old furniture frequently suffers from decades of accumulated wax, furniture oils, and cigarette smoke that mild soap cannot break down. For stubborn, darkened buildup, odorless mineral spirits represent the safest solvent for traditional clear finishes like shellac, varnish, and polyurethane. Mineral spirits dissolve wax, grease, and grime efficiently without dissolving or softening the underlying cured finish, making it a favorite among professional restorers.
Apply a small amount of mineral spirits to a soft cloth and wipe a hidden area, such as the inside of a back leg, to ensure the finish remains stable. If the finish does not soften or wipe away, rub the stained wood along the grain in small, focused sections. The solvent will quickly cut through old, yellowed paste wax and grime, turning the cloth dark brown while revealing the clean wood underneath.
White water rings and heat hazes on table tops require a different approach because the cloudiness is moisture trapped beneath the surface wax or finish. A mild abrasive paste made from a dash of non-detergent mineral oil and rottenstone or baking soda can be rubbed gently along the grain to polish away the cloudy layer. Always wipe the area completely clean and dry immediately after treating the haze.
Selecting the right polish and avoiding harmful chemicals
Finding the best antique furniture polish means understanding what actually protects wood versus what merely creates temporary, greasy shine. Modern aerosol spray polishes contain silicone oils and propellants that create a high-gloss synthetic film over the timber. Over time, silicone penetrates through hairline finish cracks into the raw wood pores, making future spot repairs or traditional refinishing nearly impossible because new finishes will not adhere to silicone-contaminated wood.
High-quality paste wax made with beeswax and carnauba wax is universally considered the best protective product for antique wooden furniture. Unlike liquid oils that remain wet and attract floating airborne dust, paste wax dries hard into a thin, protective barrier that repels moisture, fingerprints, and minor scuffs. Microcrystalline wax is another exceptional museum-grade option, offering a crystal-clear, acid-free protective layer that will not yellow or discolor over decades.
Lemon oil and linseed oil polishes are often marketed as wood food, but wood is not living tissue and cannot be fed. Liquid oils tend to sit in crevices, turn rancid, and collect grime, eventually oxidizing into a dark, gummy mess that obscures the natural beauty of the grain. High-grade paste waxes are widely recommended across antique consignment shops and restoration studios because they preserve the authentic luster without compromising future conservation work.
Applying paste wax for long-term finish protection
Applying paste wax properly requires patience and a minimal touch. A common mistake is applying thick layers, which become gummy, difficult to buff, and prone to streaking. Place a golf-ball-sized dollop of wax inside a clean cotton cloth or folded piece of cheesecloth, folding the cloth around it so the wax squeezes through the fabric pores as you work. This technique prevents large clumps from landing on the surface.
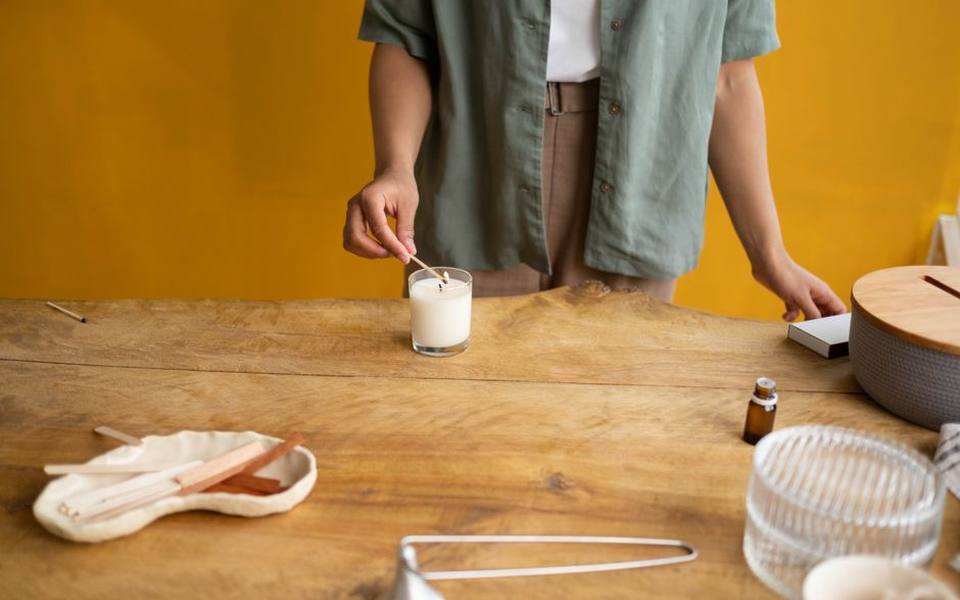
Rub the wax onto the wood in firm, tight circular patterns to ensure even coverage across the grain, then finish with long, light strokes along the wood grain direction. Work in sections of roughly two square feet at a time. Allow the applied wax to dry for ten to twenty minutes until it turns hazy and feels slightly dry to a light fingertip touch, rather than wet or tacky.
Buff the hazed wax vigorously using a clean, soft cotton flannel cloth, an old cotton towel, or a dedicated horsehair buffing brush. Buffing generates slight friction heat that hardens the wax into a durable, satin sheen. Antique wood typically only needs waxing once every twelve to twenty-four months; between waxings, simple weekly dry dusting with a clean microfiber cloth is all that is necessary to maintain the surface.
Knowing when to stop cleaning and consult an expert
There is a fine line between careful cleaning and accidental destruction. If a piece begins shedding flakes of finish, if loose veneer lifts along the edges, or if cleaning rags show deep wood pigment rather than surface dirt, stop immediately. Rare eighteenth-century pieces, early American folk art, and labeled masterpieces by famous cabinetmakers lose significant financial value if their original surfaces are aggressively scrubbed or stripped.
Before attempting substantial restoration on family heirlooms or pieces acquired from estate liquidations, consider arranging professional appraisal services. An experienced appraiser can identify the wood species, verify the manufacturing era, and assess whether the existing finish is original. Knowing the historical significance prevents costly mistakes, such as inadvertently stripping a rare piece that would be worth substantially more with its original, worn varnish intact.
Structural instability, deep wood rot, or pervasive insect damage also demand professional intervention rather than home cleaning remedies. A skilled conservator understands how to stabilize failing animal hide glue joints, re-lay bubbled veneer with specialized heated irons, and consolidate degraded wood fibers without altering the authentic character of the antique piece.
Realistic costs and expectations for professional refinishing
When a finish is completely degraded, flaking, or ruined by improper modern coatings, professional refinishing becomes the practical path forward. The total furniture refinishing cost depends on the piece's size, wood complexity, structural condition, and the method of finish application. On average across the country, refinishing an antique piece typically runs from several hundred dollars for smaller accents to several thousand dollars for large architectural furnishings.
A simple accent table, nightstand, or single wooden chair typically costs between $200 and $500 to professionally strip, sand, stain, and clear-coat. Medium-sized pieces such as five-drawer dressers, credenzas, or writing desks typically range between $600 and $1,500 depending on the presence of detailed carvings, turned spindles, or stubborn modern urethanes that resist chemical strippers.
Labor represents the vast majority of refinishing expenses because reputable craftspeople avoid harsh dip tanks, which dissolve hide glue and warp solid wood. Instead, they strip finishes by hand using specialized solvents, scrape details carefully, repair joinery, match stains by eye, and apply multiple hand-rubbed coats of lacquer or oil. Turnaround times typically span three to eight weeks depending on workshop backlog and curing requirements.
Table refinishing costs and surface-specific repairs
Dining and conference tables are among the most frequently refinished antique items because their horizontal surfaces endure constant exposure to hot dishes, liquid spills, and abrasive tableware. The table refinishing cost typically ranges from $700 to $1,800 for a standard four- to six-person dining table. If the table features multiple extension leaves, intricate butterfly joints, or pedestal bases with carved claw feet, costs can climb toward $2,500 or more.
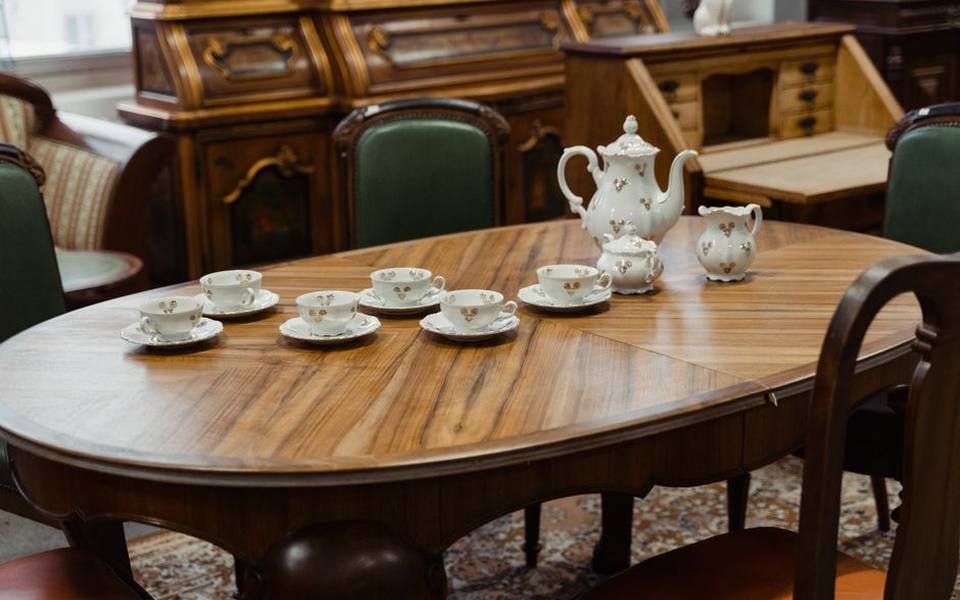
Tables built with fine hardwood veneers require specialized care that can impact labor estimates. If previous owners aggressively sanded the tabletop, the veneer might be paper-thin, leaving no room for machine sanding without burning through to the substrate wood underneath. Hand-stripping, veneer patching, and artistic grain-painting to conceal past gouges add skilled labor hours to the final bill.
Smaller occasional tables, such as coffee tables, sofa tables, or end tables, typically command lower refinishing fees, often falling between $300 and $700. When discussing a project with a restorer, clarify whether the quote includes underside stabilization, skirt tightening, or hardware polishing, as comprehensive surface rejuvenation often uncovers hidden mechanical needs that require attention.
Environmental care and buying preserved antiques
Once an antique is cleaned and waxed, preserving its condition requires controlling the surrounding indoor climate. Wood is a hygroscopic material that continuously absorbs and releases ambient moisture, swelling in humid summers and shrinking during dry winters. Maintaining indoor relative humidity between 40 and 55 percent prevents tabletop splits, drawer binding, and joint failure. Keep antique wooden furniture away from direct heat registers, radiators, and fireplaces.
Ultraviolet sunlight is another silent enemy of antique wood finishes. Prolonged direct exposure bleaches natural wood pigments, darkens clear shellac unevenly, and breaks down the molecular bonds in historic lacquers, leading to cracking and crazing. Positioning furniture away from unshaded windows or using UV-filtering window films will protect the wood's rich tones for decades to come.
For enthusiasts looking to add authentic period pieces to their home, regional antique malls often feature dealers specializing exclusively in well-preserved, unrestored wood furnishings. Browsing these collections gives buyers a firsthand appreciation of well-cared-for patinas and helps train the eye to spot the difference between honest age-related wear and neglected finish damage.
Published 2026-09-20 · reviewed with each rebuild, last September 2026.
Find antique stores near you
The directory lists 25,996 antique stores by state and city — pick your state or use the “Near me” button in the header.
More guides
-
 Owning
Cleaning and Polishing Antique Silver Without Damaging the Patina
-
 Money
MoneyNavigating the Market for Vintage Currency
-
 Owning
Evaluating, Using, and Displaying Mid-Century Glassware and Kitchen Antiques
-
 Buying
Navigating Vintage and Antique Jewelry Styles
-
 Owning
How to Clean and Care for Silverware Without Causing Damage
-
 Owning
Vintage Pyrex Value and Safety Guide: Understanding Collector Patterns and Usage
-
 Buying
A Guide to Sourcing Vintage and Estate Jewelry
-
 Money
MoneyValuable Baseball Cards Guide: Spotting Vintage Sports Collectibles
-
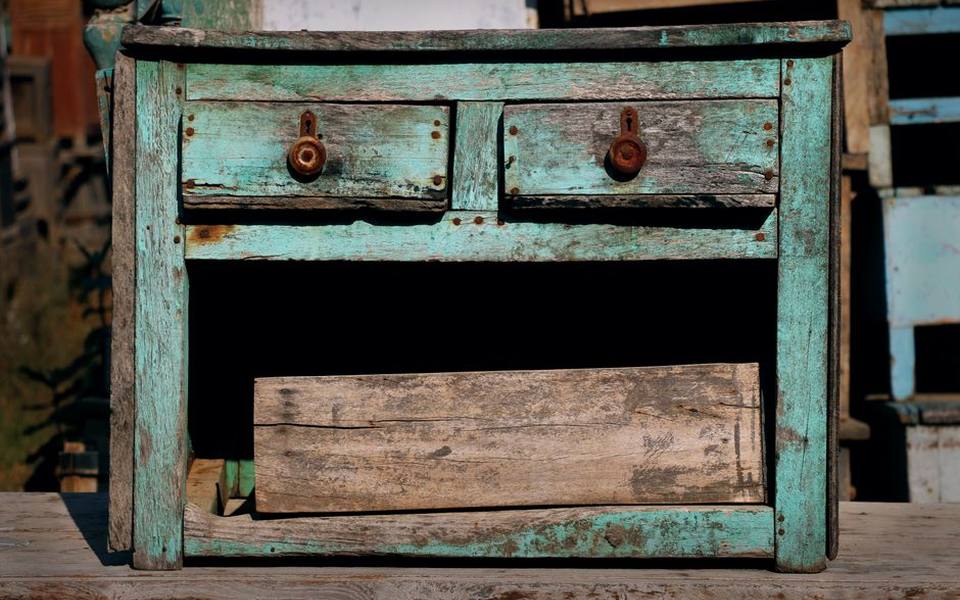 Owning
How to Clean and Restore Antique Wood Furniture
-
 Money
MoneyHow to Find and Use Antique Price Guides Online
-
 Money
MoneyHow to Determine the Value of Old Books and First Editions
-
 Money
MoneyWhere and How to Sell Vintage Coins for the Best Return
-
 Buying
Choosing and Caring for Vintage and Modern Cast Iron Cookware
-
 Owning
How to Polish and Value Antique Silverware at Home
-
 Owning
How to Clean and Polish Antique Wood Furniture Without Damaging It
-
 Buying
Vintage and Classic Cast Iron Cookware: Buyer's, Value, and Care Guide
-
 Buying
Antique Silverware, Vintage Jewelry, and Collectible Coins Guide
-
 Money
MoneyA Practical Guide to Antique Price Guides and Rare Book Valuations
-
 Owning
How to Clean, Polish, and Refinish Antique Wood Furniture
-
 Owning
Ultimate Guide to Vintage and Antique Cast Iron Cookware: Brands, Seasoning, and Care
-
 Owning
How to Clean, Polish, and Value Vintage Silverware and Antique Jewelry
-
 Buying
Valuing Vintage Collectibles: From Rare Dolls and Slot Machines to Classic Lamps and Churns
-
 Money
MoneyVintage Glassware Value Guide: Pyrex, Depression Glass, CorningWare, and Bottles
-
 Money
MoneyAntique & Vintage Price Guides: How to Value Antiques and Collectibles
-
 Buying
How to Value Old Books and First Editions: A Collector's Price Guide
-
 Money
MoneyWhere and How to Sell Vintage Records and Audio Equipment
-
 Buying
How to Buy, Value, and Sell Vintage Coins: A Practical Beginner's Guide
-
 Buying
Estate Sale Guide: How to Find, Buy, and Liquidate Antiques
-
 Buying
Vintage and Modern Cast Iron Cookware: Identification, Seasoning, Buying, and Care
-
 Money
MoneyComprehensive Guide to Antique Values, Old Books, and Collectibles Pricing
-
 Owning
Cleaning and Caring for Vintage Silverware, Fine Jewelry, and Antique Metals
-
 Owning
How to Clean, Polish, and Refinish Antique Wood Furniture
-
 Buying
Vintage and Modern Cast Iron Cookware: Identification, Caring, and Buying Guide
-
 Owning
Antique Silverware: Cleaning, Polishing at Home, and Value Guide
-
 Owning
Care, Polishing, and Refinishing Guide for Antique Wood Furniture
-
 Buying
Vintage Pyrex, Glassware, and Depression Glass Identification and Value Guide
-
 Money
MoneyAntique Price Guides: How to Value and Sell Antiques Online and Offline
-
 Money
MoneyCollectible Old Books and First Editions: Valuation and Identification Guide
-
 Buying
Vintage Sewing Machines, Stoves, and Antique Tools Value Guide
-
 Buying
Collector Guide to Vintage Door Hardware, Knobs, and Cabinet Pulls
-
 Owning
Antique & Vintage Dolls: Values, Identification, and Care
-
 Buying
Antique Hoosier Cupboards and Vintage Desks: History, Identification, and Value
-
 Service
Grandfather, Wall, and Pocket Clock Repair and Identification Guide
-
 Owning
Antique Rotary Telephones and Landlines: Buying, Restoring, and Converting
-
 Owning
Collecting Vintage Picture Frames and Oil Paintings: Framing and Restoration
-
 Buying
Antique Sewing Machines and Spinning Wheels: Value, Brands, and Maintenance
-
 Buying
Antique Wood Stoves and Log Burners: Buying, Safety, and Restoration Guide
-
 Buying
Depression Glass and Antique Canning Jars: Identification and Values
-
 Buying
Vintage Mirrors: Identifying, Buying, and Styling Antique Glass
-
 Owning
Antique Silverware and Silverplate Flatware: Cleaning, Identification, and Value
-
 Buying
Vintage Engagement Rings and Art Deco Jewelry: Buying and Valuation
-
 Buying
Buyer Guide to Vintage and Antique Furniture: Seating, Tables, Desks, and Reproductions
-
 Buying
Collector Guide to Vintage Toys, Lighters, Sports Ephemera, and Curios
-
 Buying
Architectural Salvage Guide: Sourcing Stained Glass, Mantels, and Historic Hardware
-
 Buying
Vintage Fashion and Heirloom Style: Sourcing Dresses, Denim, Leather, and Ephemera